Changing a tyre can seem daunting, but with the right approach, you can do it yourself at home. This guide will walk you through each step in detail, ensuring you feel confident and capable. Let’s get started!
What You’ll Need
Before you begin, gather the following tools and materials:
- Spare Tyre: Make sure your spare is properly inflated and in good condition.
- Jack: This will lift your vehicle off the ground.
- Jack Stands: While optional, these provide extra safety when the vehicle is raised.
- Lug Wrench: A tool to loosen and tighten the lug nuts on your wheel.
- Wheel Chocks: Small blocks that prevent your vehicle from rolling.
- Gloves: Optional, but useful for keeping your hands clean.
- Flashlight: Handy if you’re working in low light or at night.
Step 1: Find a Safe Location
- Choose the Right Spot: Look for a flat, stable surface, like a parking lot or driveway. Avoid soft ground or hills.
- Turn on Hazard Lights: This alerts other drivers that you’re stationary and working on your vehicle.
- Engage the Parking Brake: This prevents the car from rolling while you’re changing the tyre.
- Use Wheel Chocks: Place wheel chocks behind the wheels opposite the flat tyre. This adds an extra layer of safety.
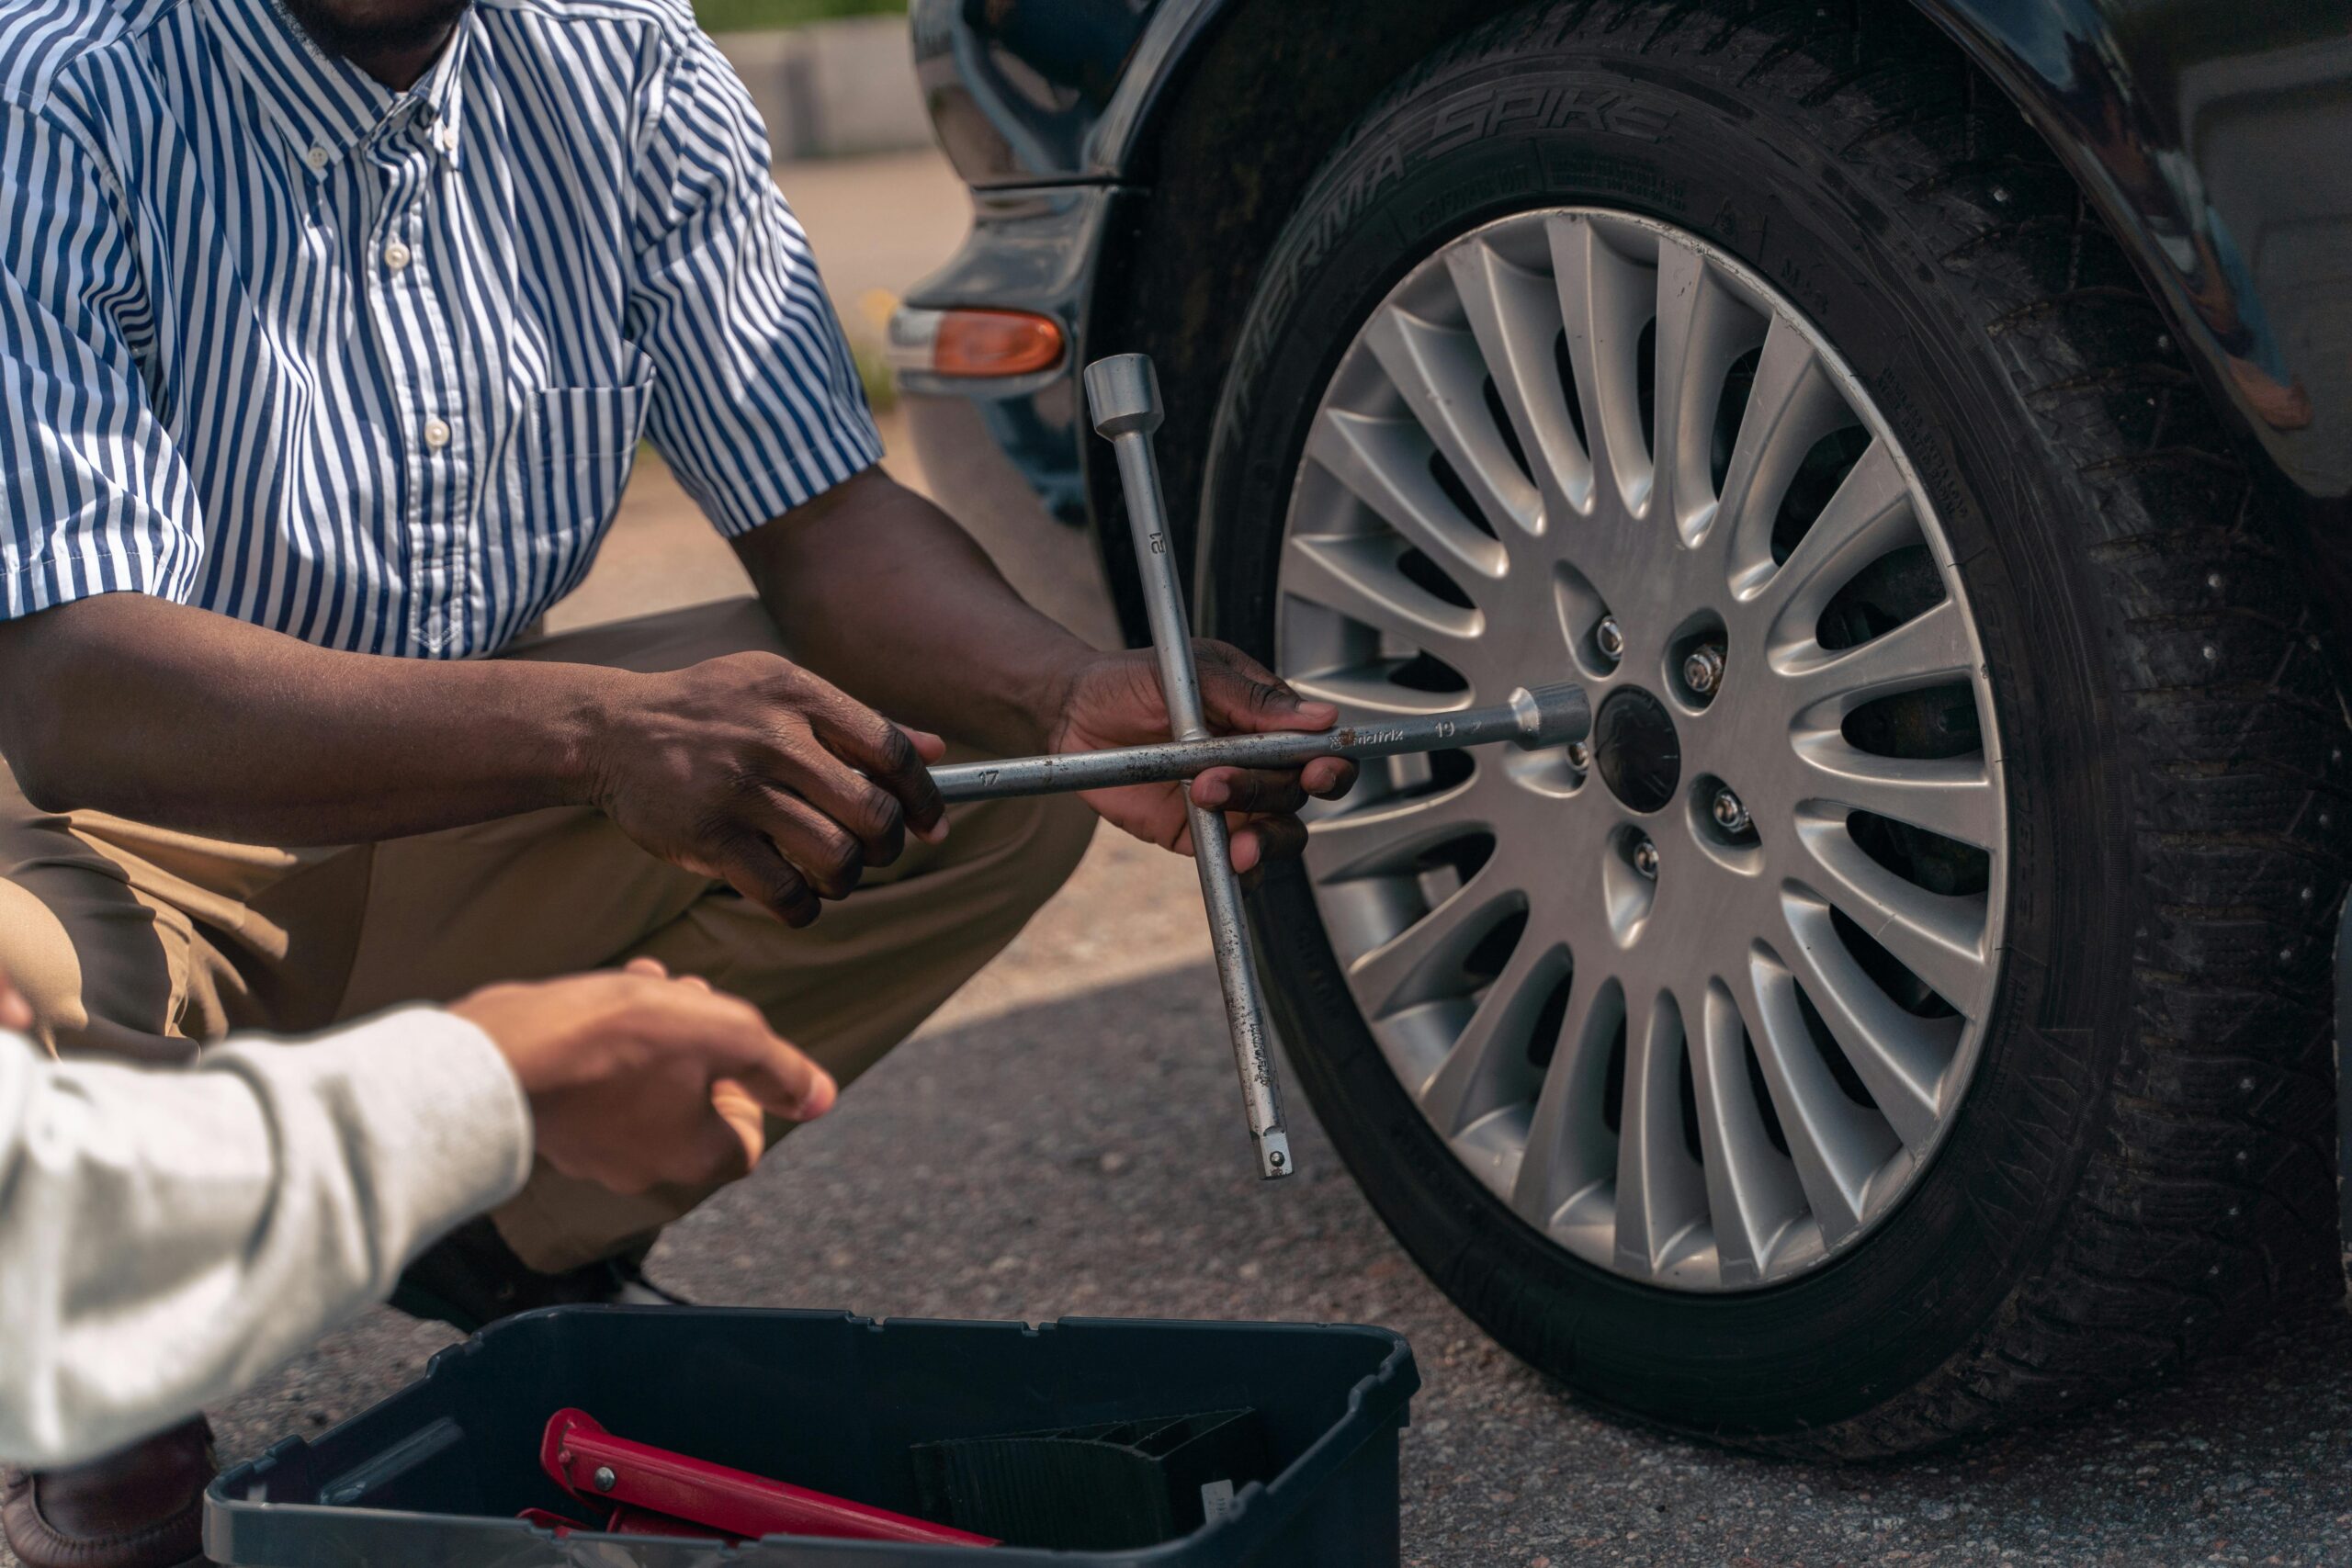
Step 2: Loosen the Lug Nuts
- Locate the Lug Nuts: These are the round fasteners that hold the wheel in place.
- Use the Lug Wrench: Turn the wrench counterclockwise to loosen the lug nuts. You might need to apply some force, so using your body weight can help.
- Don’t Remove Them Yet: Just break the tension—don’t completely take them off until the car is lifted.
Step 3: Jack Up the Vehicle
- Find the Jacking Point: Consult your owner’s manual for the correct jacking points for your vehicle.
- Position the Jack: Place the jack under the jacking point and ensure it’s stable.
- Lift the Vehicle: Pump the jack handle until the tyre is off the ground. Keep an eye on the jack to ensure it remains stable.
- Add Jack Stands (if available): If you have jack stands, place them under the vehicle for extra support before proceeding.
Step 4: Remove the Flat Tyre
- Take Off the Lug Nuts: Now that the car is lifted, completely remove the loosened lug nuts. Store them in a safe spot so they don’t get lost.
- Remove the Flat Tyre: Gently pull the flat tyre straight off the wheel hub and set it aside.
Step 5: Install the Spare Tyre
- Align the Spare Tyre: Position the spare tyre over the wheel hub, aligning the holes with the bolts.
- Slide the Tyre Into Place: Push it onto the hub until it’s snug.
- Hand-Tighten the Lug Nuts: Start threading the lug nuts onto the bolts. Hand-tighten them to ensure they stay in place.
Step 6: Lower the Vehicle
- Lower the Jack: Slowly pump the jack in the opposite direction to lower the vehicle back to the ground.
- Tighten the Lug Nuts Fully: Once the car is stable on the ground, use the lug wrench to tighten the lug nuts completely. Make sure to follow a crisscross pattern to ensure even tightening.
Step 7: Clean Up and Check
- Remove Tools: Gather all your tools and put them away to avoid clutter.
- Store the Flat Tyre: Place the flat tyre in your vehicle for repair or disposal.
- Final Check: After driving a short distance, stop and check the lug nut tightness to ensure everything is secure.
Conclusion
Changing a tyre at home is a valuable skill that can save you time and money in emergencies. By following these detailed steps, you can confidently handle a flat tyre whenever it happens. Always refer to your vehicle’s manual for specific instructions, and don’t hesitate to reach out to a professional if you feel uncertain. Stay safe, and happy driving!